
Table of Contents
- Why New Leather Belts Feel Stiff (and Why That's a Good Sign)
- How to Break in Leather Belts Safely: Dry Flexing Methods
- How to Soften a New Leather Belt with Conditioning
- Leather Belt Conditioning: When to Condition vs. When to Wait
- How Long to Break in a Leather Belt: A Realistic Timeline
- How to Break in a Leather Gun Belt for Concealed Carry
- Common Mistakes That Damage Leather Belts (and How to Avoid Them)
- Conclusion: Break In Your Belt, Don't Break It
- Frequently Asked Questions
Last Updated: October 13, 2026
Why New Leather Belts Feel Stiff (and Why That's a Good Sign)
A stiff new belt is not a defect.
At Armour Belts, we build gun belts that start stiff on purpose.
Here is the tension most guides ignore: the same stiffness that makes a belt carry well is the thing you have to work out.
Below, we cover how to break in leather belts safely, which methods work on which leather, and the mistakes that crack a strap before it ever fits right.
How to Break in Leather Belts Safely: Dry Flexing Methods
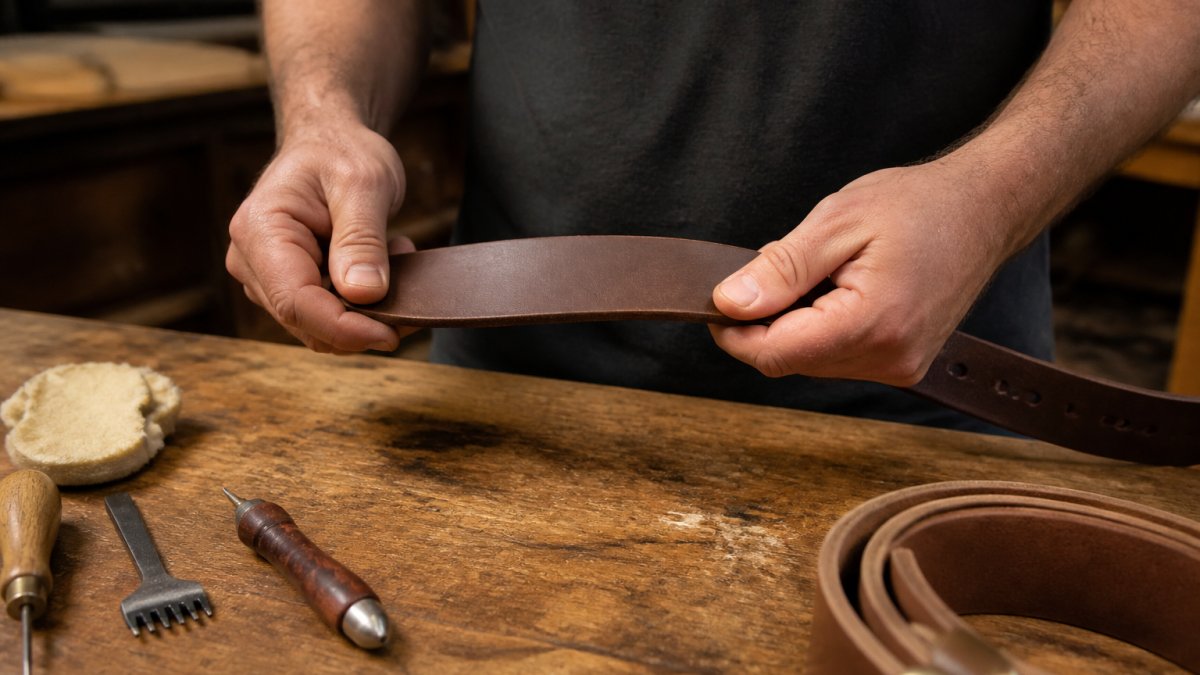
Dry flexing is the safest way to break in leather belts. It uses your hands and body heat to loosen the fibers, no oil, water, or heat gun.
Start with clean, dry hands. Work slowly. Leather fibers move under gentle pressure, but they tear under force.
Bending and Flexing by Hand
Hold the belt at both ends and bend it into a gentle U shape, never a crease. Work along the strap in sections about as wide as your hand, bending each spot a few times before moving on.
What most guides miss is the direction of the bend. Flex the belt the way it will curve around your waist, not against that curve.
- Work in small sections, not the whole belt at once
- Use gentle pressure, never a sharp fold
- Follow the natural curve the belt wants to take
Rolling and Working in Small Sections
Rolling is the patient version of flexing. Lay the belt flat, roll it into a loose coil, unroll it, and roll it the other way. Then crumple the strap lightly, section by section, to soften the surface without stressing any single spot. Five minutes a day beats one aggressive session, the fibers need time to relax, not force.
How to Soften a New Leather Belt with Conditioning
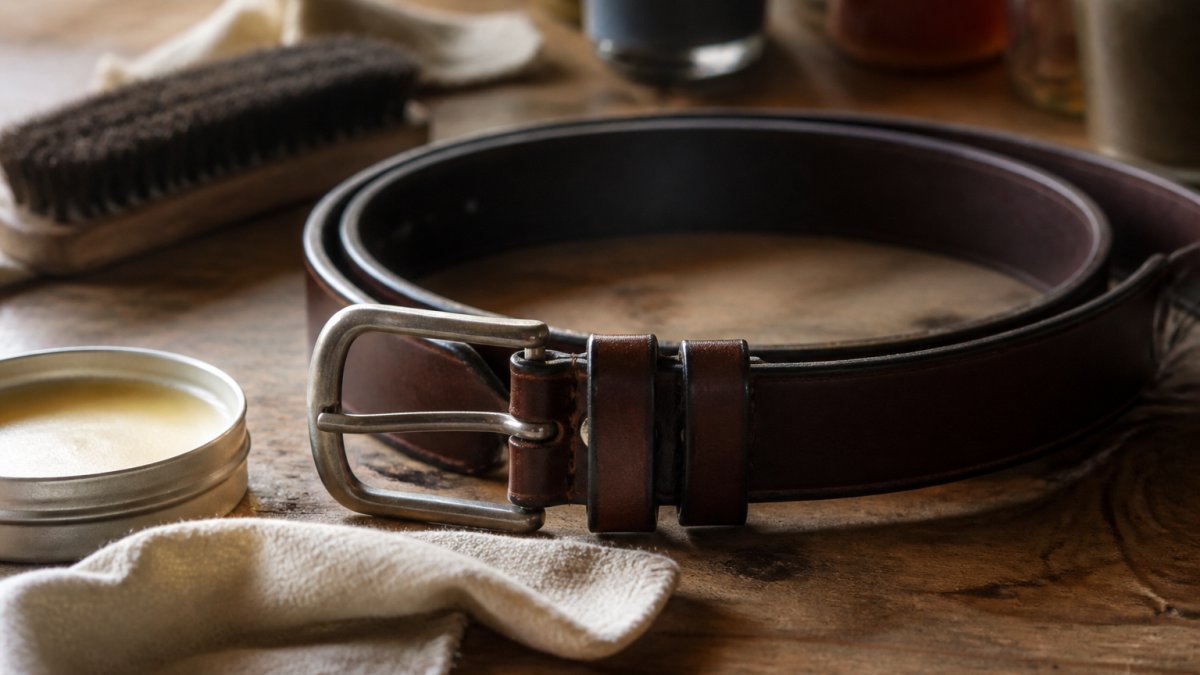
Conditioning adds moisture back into dry leather, and that is its only job.
Apply a small amount to a cloth, not directly to the belt. Rub it along the strap, let it sit a few minutes, then buff off whatever the leather did not absorb.
A moderate amount is the whole game. Over-conditioning is the most common way people ruin a good belt. The leather gets greasy, stretches unevenly, and loses the body that supports a holster.
Which Leather You Actually Have (and Why It Changes the Answer)
Most guides give one set of instructions for every belt. That is the mistake. Leather type and construction decide whether conditioner helps or hurts:
- Full-grain or top-grain, vegetable-tanned. Dense fibers, open pores. These accept a light conditioner well and respond to dry flexing. This is the leather most worth breaking in carefully.
- Bonded or genuine leather (split layers glued together). The surface is often a plastic or polyurethane finish over a fiber core. Conditioner sits on top and does nothing, or softens the glue and causes delamination. Dry flex only, and gently.
- Suede or nubuck. No protective finish, so oil darkens and mats the nap permanently. Avoid conditioner entirely; flex by hand.
If you are not sure what you have, check the back of the belt. A rough, fibrous back with a visible grain top is usually full-grain. A uniform, fuzzy, or fabric-like back often signals bonded or split leather.
Decision Tree: Condition or Just Flex?
Results online conflict because the right answer depends on the belt, not the method. Run this sequence:
- Is the leather dry? Press a thumbnail into a hidden spot. If it leaves a pale mark that fades slowly, the leather is dry. If the mark springs back, it has enough oil.
- Is the finish intact? Look for cracking, flaking, or a chalky haze. A failing finish means conditioner will not fix it and may make it worse.
- What does the maker say? If the manufacturer specifies a product or says not to condition, follow that. They know the tannage.
- Is it new and stiff but not dry? Flex only. Stiffness is not dryness.
- Is it new, stiff, and matte with no sheen? Flex for a week, then reassess before reaching for conditioner.
- Is it dry, pale, or showing fine surface cracks? Apply a light coat of conditioner, then flex gently.
- Is it vintage or has it been stored for years? Condition sparingly first, then flex. Old leather tears easily.
- Is it greasy, dark, or sticky? Stop. You have over-conditioned. Let it rest and wipe the surface.
Test any product on a hidden spot first, like the tail end behind the buckle. If the leather darkens more than you like, use less next time.
For a belt built for carry, like our Gun Belt, keep conditioning minimal. That belt is about 5/16 inch thick and stitched with military-grade nylon thread; it is meant to stay flat under a holster, and too much oil works against that.

Leather Belt Conditioning: When to Condition vs. When to Wait
The decision is simpler than most people make it: condition when the leather is dry, wait when it is not.
| Belt condition | What to do | Why |
|---|---|---|
| New, supple, slight sheen | Dry flex only | Leather already has its natural oils |
| New, stiff, matte finish | Flex for a week, then reassess | Stiffness is not dryness |
| Dry, pale, small surface cracks | Light coat of conditioner | Fibers need moisture back |
| Vintage or stored for years | Condition, then flex gently | Old leather tears easily |
| Greasy or darkened | Stop conditioning, let it rest | Over-conditioning has begun |
How Long to Break in a Leather Belt: A Realistic Timeline
Most leather belts need one to three weeks of regular wear to break in. A thick gun belt can take a month, because there is more leather to move. Progress checks matter more than the calendar:
- Week one: the belt still feels board-stiff, but it starts to hold a slight curve
- Week two: the strap bends easily at the spots where your body flexes
- Week three: the belt sits flat, the buckle stops digging in, and the holster stops shifting
If nothing changes after two weeks of daily wear, add a few minutes of dry flexing per day. If the belt gets softer but starts sagging under your holster, you have gone too far.
How to Break in a Leather Gun Belt for Concealed Carry
A gun belt breaks in differently from a dress belt, and the reason is weight. A holster, a pistol, and a spare mag pouch pull down and out.

Wear it. That is the main method. Body heat and daily movement soften the leather exactly where it needs to flex, at your hips and along the curve of your waist.
A few specifics for carry belts:
- Measure with your holster on if you carry inside the waistband, so the break-in curve matches your real setup
- Flex the belt by hand along the front section, where the holster sits
- Keep the back section stiffer, since that is where the belt supports the most weight
Our Casual Gun Belt is built just under 1/4 inch thick and works with most Kydex holsters and C-clips.
Forming a Natural Wearing Curve (Without Forcing It)
The curve a belt takes is the whole point of breaking it in. Force it and you get a crease line that cracks. Guide it and you get a belt that follows your body.
To form the curve:
- Put the belt on and wear it for a full day before doing any shaping. Your body does the first pass for you.
- When you do flex by hand, bend the belt the way it wraps your waist, never against that direction. Bending backward separates the top grain from the flesh side.
- Work in sections about as wide as your hand. Move along the strap rather than working one spot.
Buckle Holes, Creases, and Stretch
Three areas cause most gun-belt problems during break-in:
Buckle holes. The hole you use most will stretch slightly as the leather relaxes. If you are between sizes, break in the belt on the tighter hole first, then move out as it softens. Do not enlarge a hole to compensate for a stiff belt; wait for the leather to give.
Creases at the buckle fold. The strap bends sharply where it folds through the buckle. That spot is under constant stress. Keep the fold smooth and avoid leaving the belt buckled tight when it is stored, which sets a hard crease.
Stretching under load. A carry belt can stretch a quarter inch or more over its first month under a holster and magazine. That is normal.
Progress Checks for a Carry Belt
- Week one: board-stiff, but a slight curve starts to hold at your hips
- Week two: the front section bends easily where the holster sits; the back stays firm
- Week three: the belt sits flat, the buckle stops digging in, and the holster stops shifting
If nothing changes after two weeks of daily wear, add a few minutes of dry flexing per day. If the belt gets softer but starts sagging under your holster, you have gone too far.
Common Mistakes That Damage Leather Belts (and How to Avoid Them)
The fastest way to ruin a belt is to rush it. Heat, water, and force break fibers instead of relaxing them.
- Using a hair dryer or heater. Heat dries leather and makes it brittle. It can also discolor the finish.
- Soaking the belt in water. Water swells and weakens the fibers. When it dries, the belt shrinks and cracks.
- Rubbing alcohol or petroleum jelly. Both strip the natural oils and leave the leather dry and dull.
One more: check the manufacturer's guidance before treating any belt. Different finishes and tannages respond differently, and a maker who knows the leather will tell you what it needs.
Conclusion: Break In Your Belt, Don't Break It
Breaking in a leather belt is a slow process, and that is the point. Gentle flexing, regular wear, and a light hand with conditioner get you a belt that fits your body and holds its shape for years.
If you carry every day, the belt matters as much as the holster. Armour Belts handcrafts full-grain leather gun belts in Michigan, cut to your exact measurement, with a lifetime warranty on materials and workmanship and most orders shipping within a week.
Get started with Armour Belts and carry with a belt that stays put from the first week to the tenth year.
Frequently Asked Questions
How long does it take to break in a leather belt?
A full-grain leather belt typically takes one to two weeks of daily wear to break in. A thick gun belt (around 5/16 inch) may take two to four weeks because the leather is denser. Progress checks help: you should notice the belt curving more naturally and feeling less rigid after the first week. If it still feels like a board after a month, try more frequent wear rather than aggressive flexing.
Can you soften a leather belt with oil or conditioner?
Yes, but use a light coat of leather conditioner or leather oil, not a heavy soak. Over-conditioning can weaken leather fibers, cause stretching, and darken the finish unevenly. Apply a moderate amount with a cloth, let it absorb, and wipe off any excess. For a new belt, condition only if the leather feels dry. If it has a firm factory finish, dry flexing and regular wear are usually enough.
Do leather belts loosen over time?
Leather belts do loosen slightly as the fibers flex and conform to your body, but a well-made full-grain belt should not stretch out of shape. The break-in process softens the leather without making it saggy. If a belt stretches excessively, it may be low-quality leather or over-conditioned. A properly sized gun belt from Armour Belts is cut to your measurement and built to hold its shape under holster weight.
Should I condition a new leather belt before wearing it?
Not always. A new belt with a firm finish often needs only dry flexing and regular wear. Condition only if the leather feels dry or stiff to the point of cracking. Use a small amount of leather conditioner, work it in with your hands, and let it absorb. Over-conditioning a new belt can make it too soft and reduce the stiffness that keeps a holster from sagging.
Share:
Stiff Leather Belt for Appendix Carry: 2026 Picks